4L80e Transmission Rebuild
A good vehicle is composed of more than just a good engine. The 4L65e transmission that usually sits behind the LQ9 in its truck applications is not the best suited for this job. I have seen several problems with the 4L60e transmission series. First, the transmission is simply not designed to handle the torque output of the engine I had installed. GM copes with this problem by limiting engine torque output through computer control, particularly by pulling tons of timing during shifts to prevent stressing the transmission to the point of destruction. Next, the first gear ratio of the 4L60e is quite deep, which presents a problem only because of the much shallower second gear. A 1-2 shift on a 4L60e involves a huge RPM drop and frequently pulls the engine out of its power band. The final gripe I have with the 4L60e is its sloppy shifts. I have noticed the shifts to be inconsistent—sometimes grabby and sometimes sloppy—and this is a very disconcerting feeling.
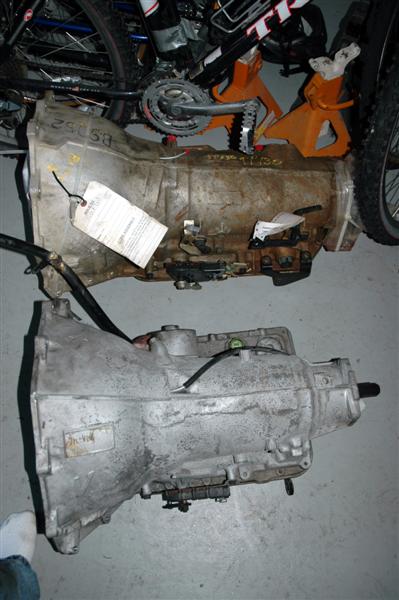
A better solution is the 4L80e transmission. This 4 speed automatic is found in the ¾ ton and up pickups, and has been around since 1991. It is designed to handle much more engine torque and vehicle weight than the 4L60e, but is also physically heavier than the 60. The 4L80e’s first and second gear ratios are much closer, which yields a much more pleasing 1-2 shift. This comes at the expense of a shallower first gear, however, which hurts low end acceleration. Each shift event in the 4L80e transmission is a clutch-engagement, rather than a band engagement or combination of the two as in the 4L60e. This is one major contributor to the smooth, consistent shifts that the 4L80e yields. Here is a picture of my 4L80e and 4L60e transmissions:
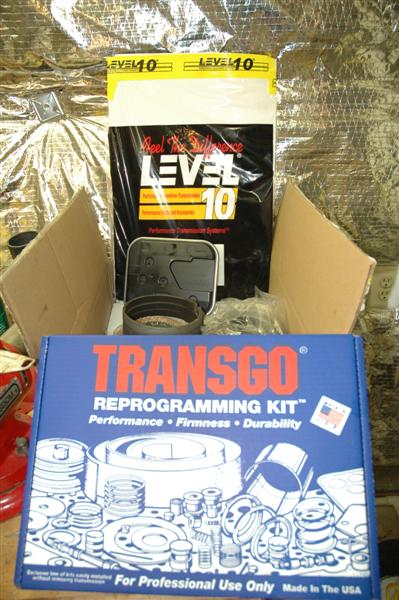
So the next step was to find a 4L80e. As with the engine, I visited www.car-part.com to find used transmissions on the east coast. Miraculously, I located a 60,000 mile 4L80e from a wrecked 2001 pickup for only $500. Even better, this included shipping! Since I wanted to ensure this transmission outlasted the vehicle, I decided to install a Level 10 performance transmission rebuild kit, and a Transgo shift kit.
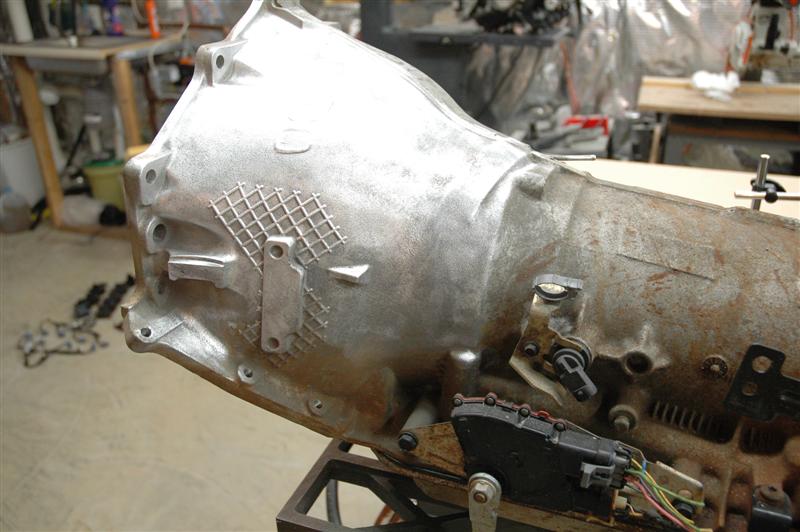
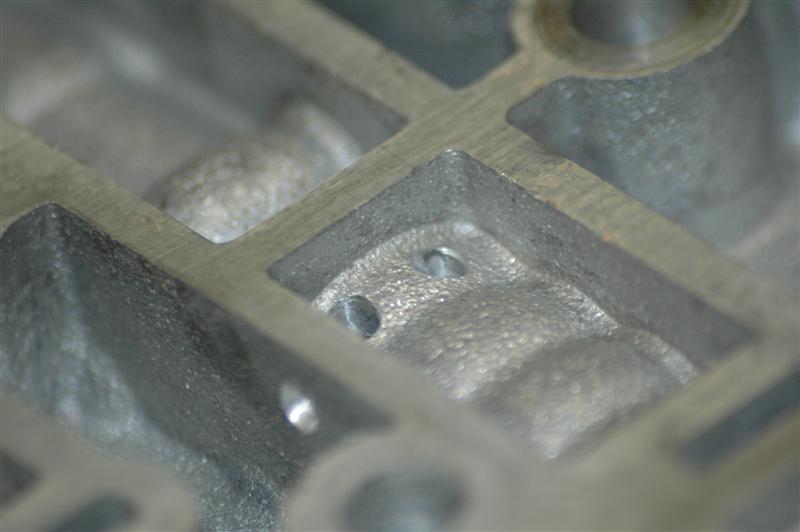
After receiving the transmission, I started by cleaning the case and using a wire wheel to remove the dirt embedded in the aluminum:
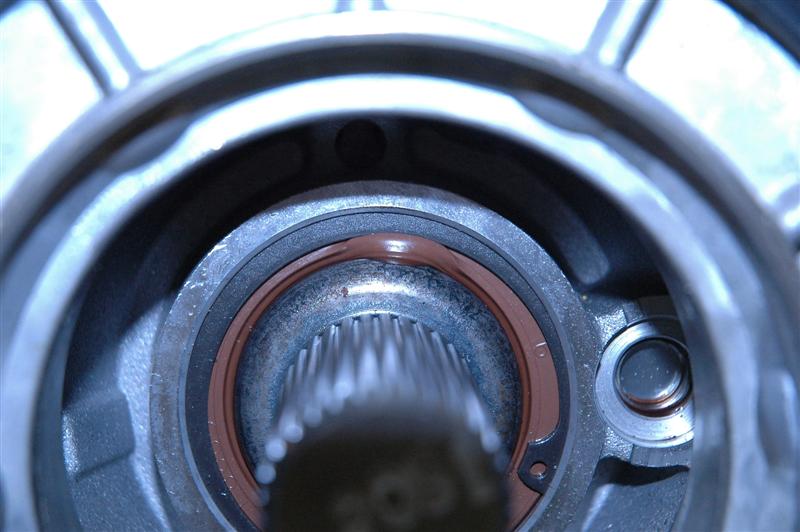
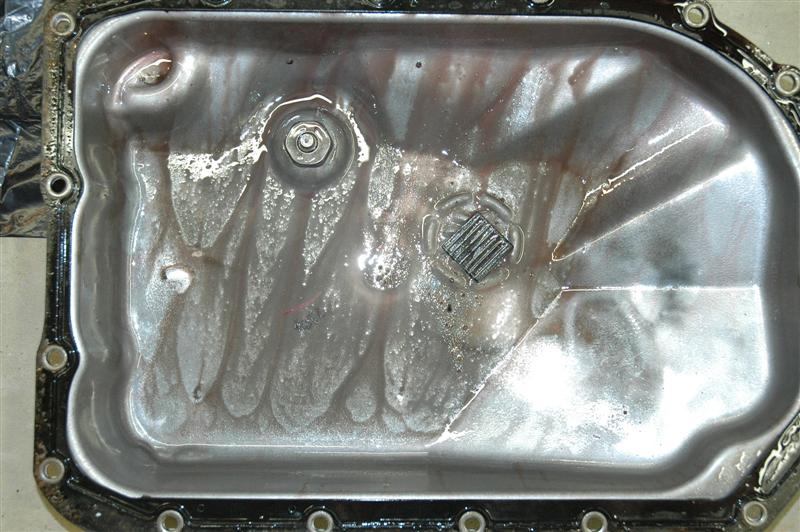
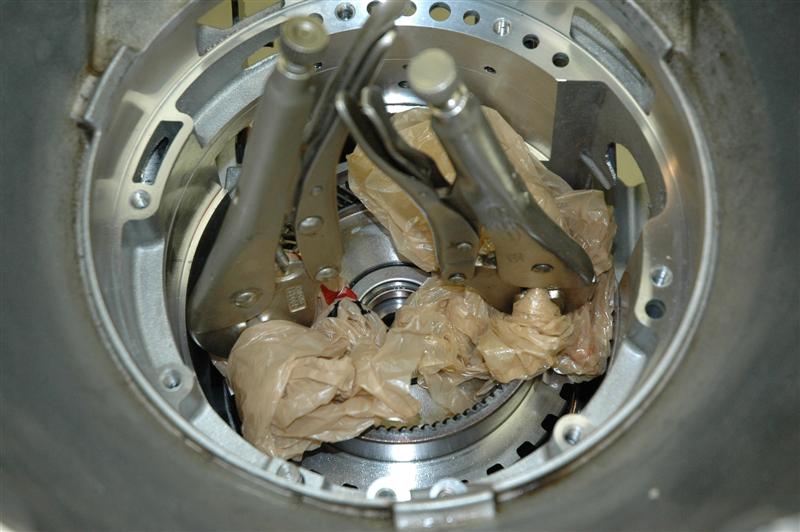
Next came complete disassembly. With the help of an ATSG transmission service manual, I removed the valve body and control electronics. I then pulled the pump and removed the gear train components. Besides some light clutch debris and metal filings in the pan, the only problem I found with the trans was a blown output shaft seal.


I tackled the rebuild process one sub-assembly at a time. For most of the sub-assemblies, this involved removing a snap ring to gain access to the internal parts, then replacing any clutch plates, seals, or bushings. The most difficult part of the rebuild was seating piston lip seals without the proper tools. I used overhead transparency to seat the seals without inverting them in the process. Speaking of proper tools, there are many tools specified for use in the rebuild process that I made do without.
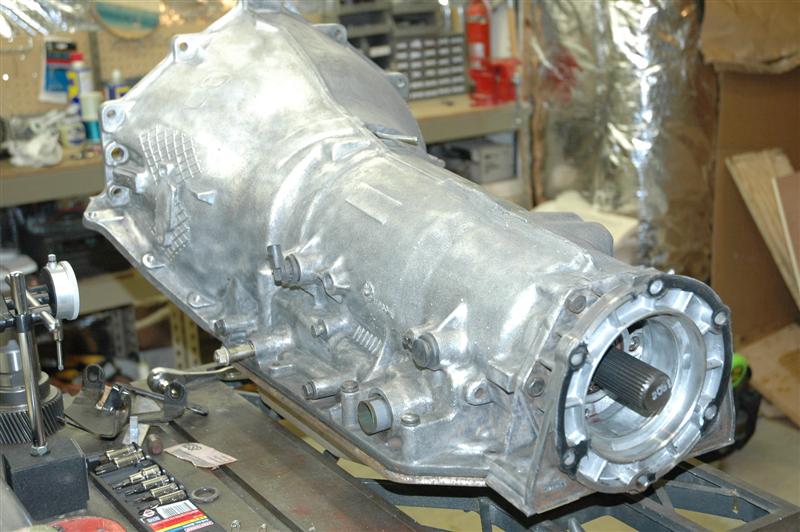
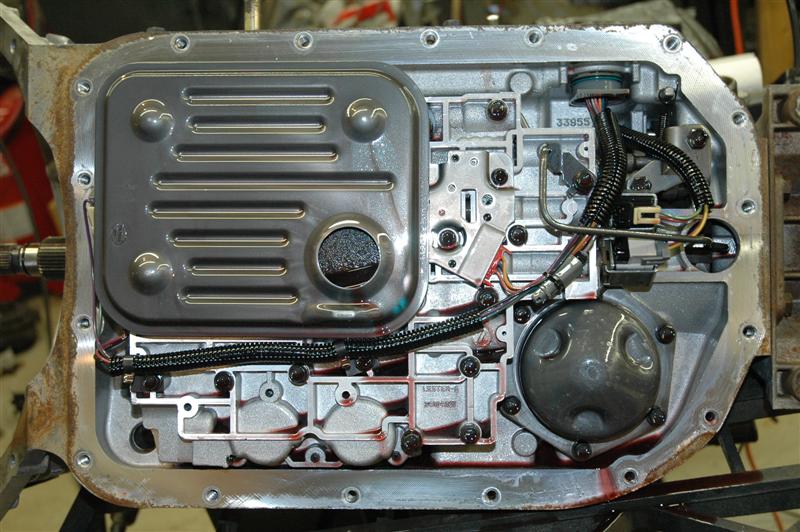
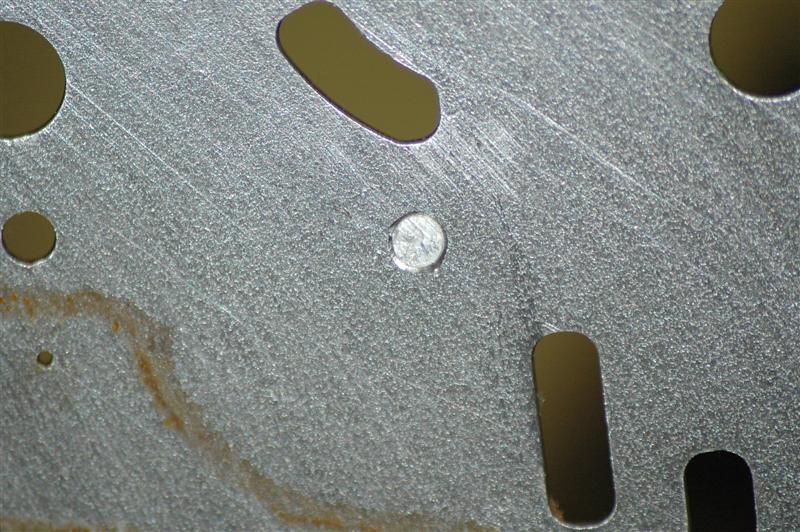
Once each subassembly was rebuilt, I followed the horribly written Transgo instructions and made some modifications to the valve body. This involved drilling some holes, plugging some others, etc. When this was finished, I thoroughly cleaned the valve body and reinstalled it. After finishing assembly, the transmission should have been ready to go.
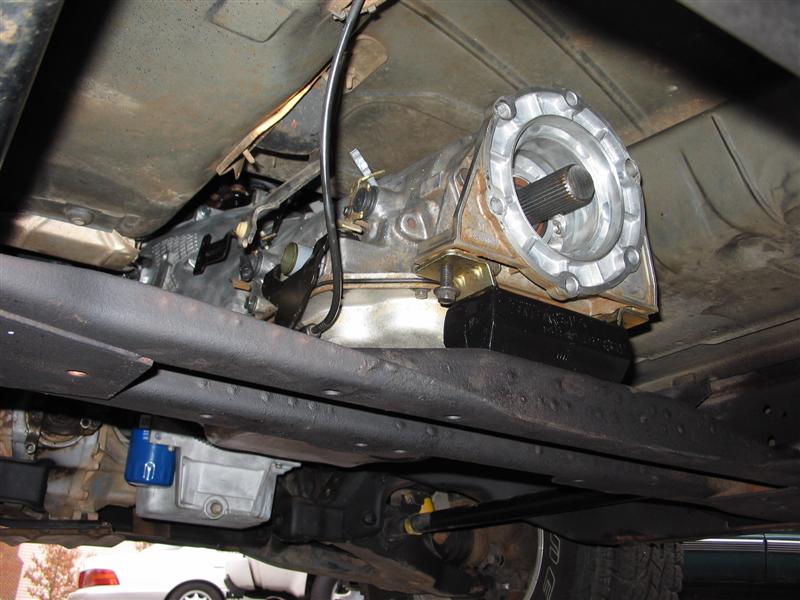
Next came installing the thing. This seemed like an easy task, but one small mix-up caused it to take entirely too long. When installing the torque converter onto the transmission input shaft, I noticed it seemed to sit too far forward. But since I could barely fit my fingers between the converter and the pump, I blew it off and bolted the tranny in place. The converter was about 1/8” too far forward to bolt to the flexplate properly once installed, so it had to come back out again for inspection. After reseating the converter several more times and installing and removing the trans as many times, I decided something must be wrong inside the pump. After pulling the pump and disassembling it, I found that I had installed the pump drive gear upside down, which prevented the converter from entering the pump fully. After fixing this, I finished installing the transmission no problem.
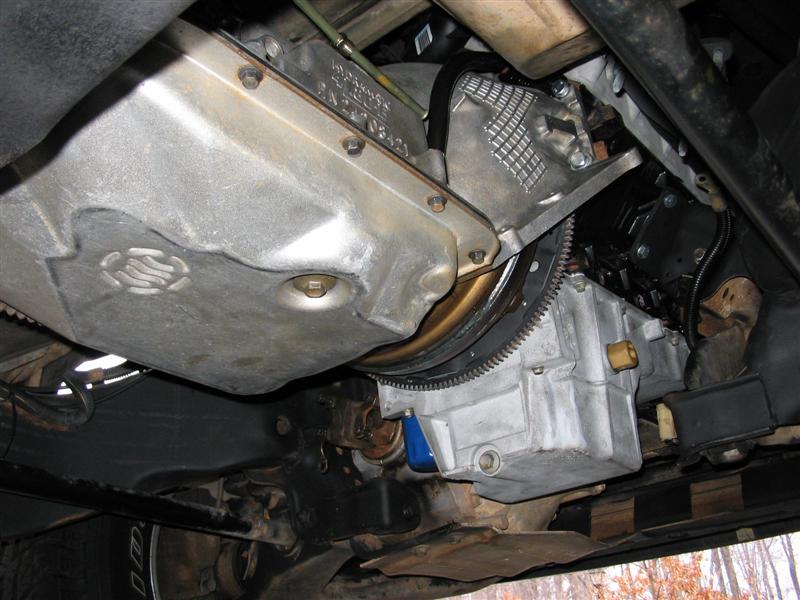
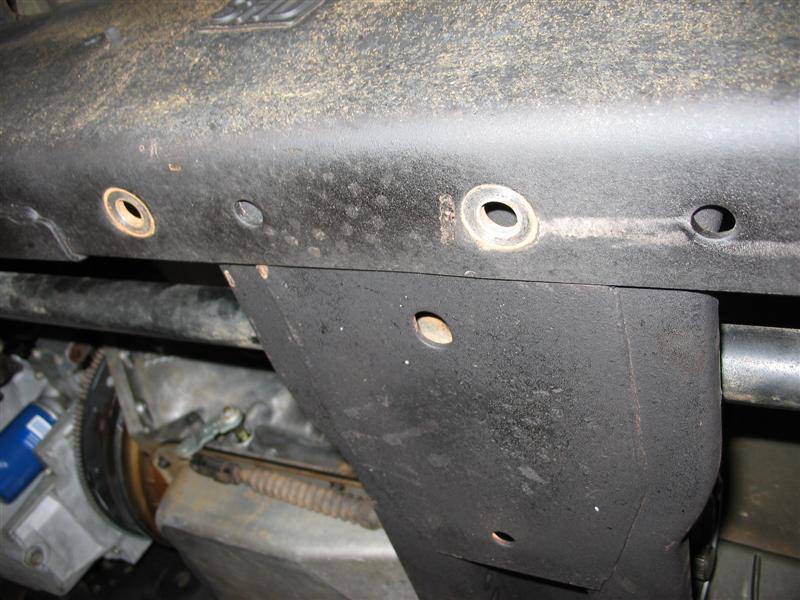
Note that the crossmember had to be moved back from its original position:
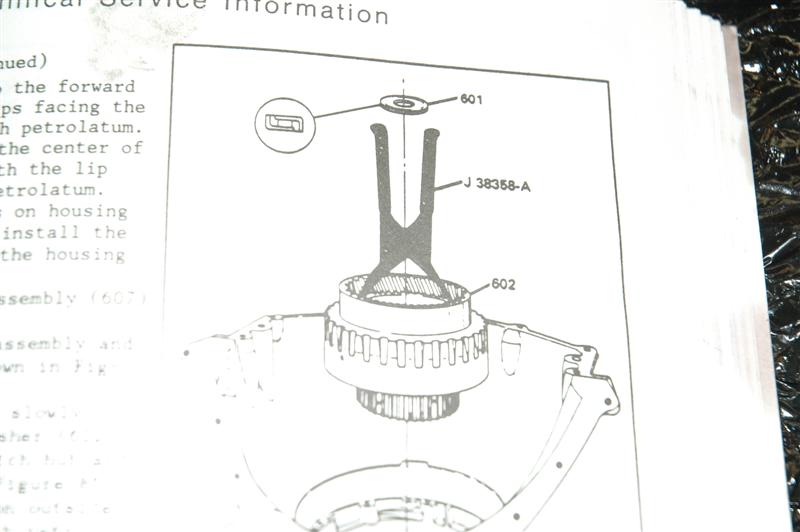
After getting the engine running properly, it was time to go for a test drive. I ran the transmission through each gear with my foot on the brake to get the hydraulic circuits filled with oil. My heart sank when I didn’t see any RPM drop as I passed reverse. Even though I had no reverse, I decided to take a test drive, and was happy to find every other gear working properly. Back in the driveway I drained the fluid, making a huge mess as usual, and pulled the pan. My first suspect was the reverse servo assembly, as the ATSG manual’s picture of this component was not up to date and I had to guess as to how the pieces were put together. After taking this apart and consulting the GM service manual, I found everything to be assembled correctly. Not knowing where to go from there, I put the problem off until the next day and looked over the wonderful Transgo instructions during breakfast the next morning. I then noticed that I had mistaken a large block-off plate that was part of the main shift kit for a component of the gear command kit, an add-on kit that allowed full manual control of the transmission. Since I was not installing the gear command kit, I left out the block-off plate when installing the main Transgo kit. After breakfast I installed the plate and reassembled the tranny. Spilling fluid everywhere, I got the transmission ready to run. After startup, I was very relieved to find the entire transmission working properly. I backed out of the driveway and proceeded to alert half the state of Maryland that my truck was done with its open exhaust.